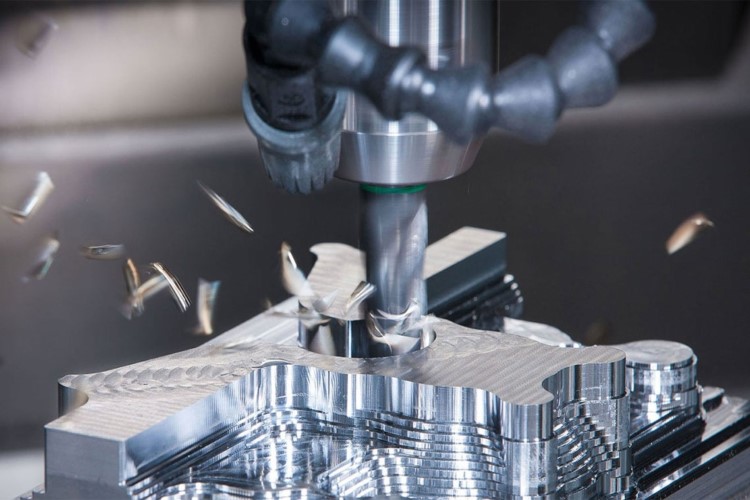
Constructing a CNC router offers a fulfilling journey. Not only can it significantly reduce costs, but it also empowers you to create a machine tailored precisely to your requirements. Plus, the process is enjoyable and serves as an excellent opportunity for learning.
By now, you might have a vision for your design and a plan for its construction. Or, you could still be in the early stages, collecting homemade CNC parts and exploring possibilities. When thinking about the design of a CNC router, it’s beneficial to reflect on a few key questions and follow experts’ steps.
What Kind of CNC Router Do You Think of Building?
Essentially, there are two primary configurations: the moving table design and the moving gantry design. Smaller CNC routers typically favor the moving table approach, as it tends to be simpler to construct and can achieve greater rigidity compared to a moving gantry setup.
Consequently, if your desired cutting envelope exceeds approximately 30×30 cm, opting for homemade CNC parts for a moving gantry design may be the more advantageous choice.
Which Materials Will You Choose for Building the CNC Machine?
A helpful rule of thumb is to select a material that is at least as strong as the one you intend to cut. For instance, if your goal is to cut aluminum, consider using aluminum or even steel for the machine’s construction. While there are wooden CNC routers capable of cutting aluminum, they operate at a much slower pace and require meticulous construction to function effectively.
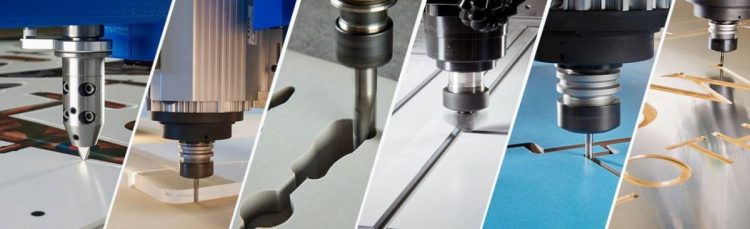
Which Type of Linear Motion Will Your Machine Utilize?
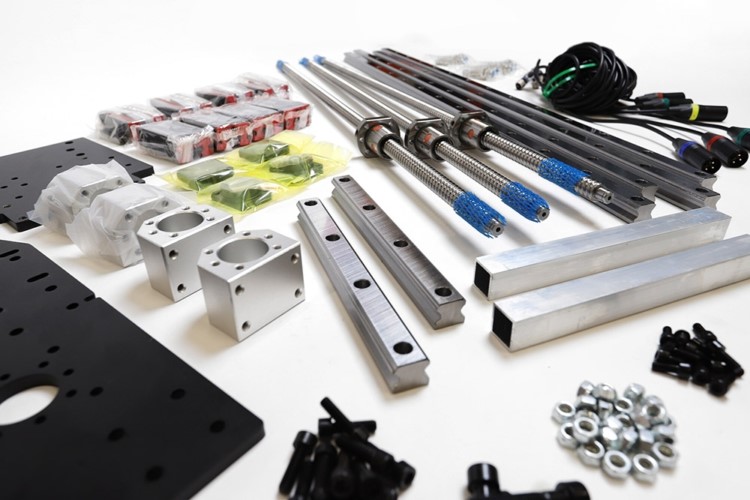
A variety of options are available for linear motion as homemade CNC parts including drawer slides, ball bearings on V rail, V-groove bearings, unsupported round linear rail, fully supported round linear rail, and profile linear rail. The choice of a linear motion system plays a significant role in determining the quality of your cuts.
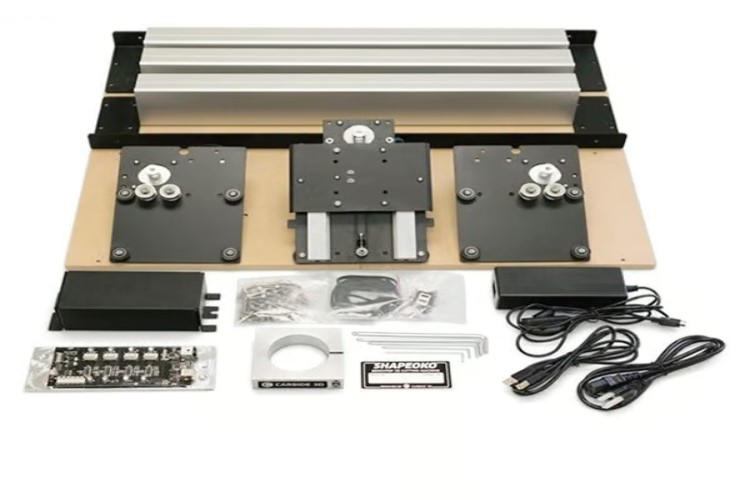
Experts suggest that fully supported linear rails represent the best choice, provided they are within your financial reach. If you’re constructing a 3-axis CNC router, consider purchasing a kit of machine parts that includes three sets of linear rails, with two linear bearings for each rail.
What Kind of Linear Drive System Will You Choose for Each Axis?
Timing belts, rack and pinion systems, and drive screws are considered as options for the drive mechanism. Among enthusiasts of DIY and homemade CNC parts, drive screws tend to be the favored choice. This system functions by attaching a stationary nut to the machine’s moving component, while the screw itself remains anchored at both ends. The motor is linked to the screw, and as it turns, the nut travels along the screw, setting the machine in motion.
For the X and Y axes, ball screws stand out as an excellent option, providing remarkably smooth movement with minimal backlash. While ball screws are pricier, they greatly improve both cutting speed and quality.
Regarding the Z-axis, a high-quality stainless steel rod combined with a custom-made nut as a homemade CNC part would be an ideal choice for optimal performance.
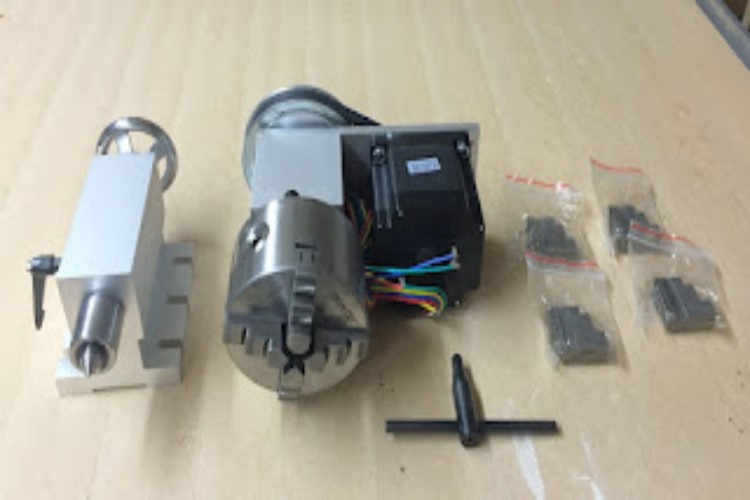
What Kind of Drive Motor and Controller Do You Need?
When thinking about motors, you can either use servo motors or stepper motors to build your CNC machines.
Servo motors, typically found in high-end CNC routers, come with a hefty price tag. They utilize encoders for position feedback and necessitate more costly controllers. On the other hand, stepper motors are a popular choice for DIY CNC routers, available in a variety of types and sizes. The controller you select must be compatible with your chosen motor.

Building Your Own CNC Machine with This Step-by-Step Guide
As you may definitely know, building a CNC machine with homemade CNC parts is a rewarding DIY project that combines mechanical engineering, electronics, and software.
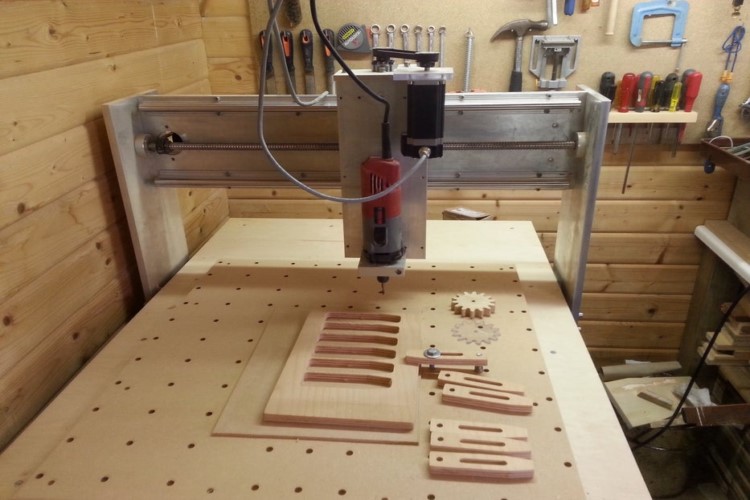
Constructing the Frame
The foundation of your CNC machine is the frame. Typically, it’s constructed using sturdy materials like aluminum extrusions or steel profiles. These provide a rigid and stable base for the moving components. Carefully measure and cut the extrusions to the desired dimensions. Ensure the frame is square and level to prevent inaccuracies during operation.
Assembling X-Axis
The X-axis is responsible for horizontal movement. It consists of linear rails mounted on the frame. These rails provide smooth and precise movement for the carriage that holds the cutting tool. Carefully align and secure the rails to the frame, ensuring they are parallel and level. This homemade CNC part assembly is crucial for maintaining accuracy throughout the cutting process.
Constructing the Gantry
The gantry is the moving part of the machine that houses the Y-axis and Z-axis components which typically consists of side plates connected by cross members. Precisely drill and tap holes in the side plates to accommodate the linear rails, motor mounts, and other necessary components. Ensure the gantry is rigid and free of any flex, as this can affect cutting accuracy.
Assembling the Y-Axis
The Y-axis homemade CNC part is responsible for vertical movement, usually mounted on the gantry, and consists of a carriage that moves along linear rails. The carriage holds the Z-axis assembly and the cutting tool. Carefully assemble the Y-axis components, ensuring smooth and precise movement along the rails. Any friction or binding will negatively impact the machine’s performance.
Assembling the Z-Axis
The vertical movement of the cutting tool is controlled by the Z-axis. It’s typically mounted on the Y-axis carriage and consists of a lead screw or linear actuator that drives the Z-axis up and down. Assemble the Z-axis components carefully, ensuring proper alignment and smooth operation. The accuracy of the Z-axis is critical for achieving the desired depth of cut.
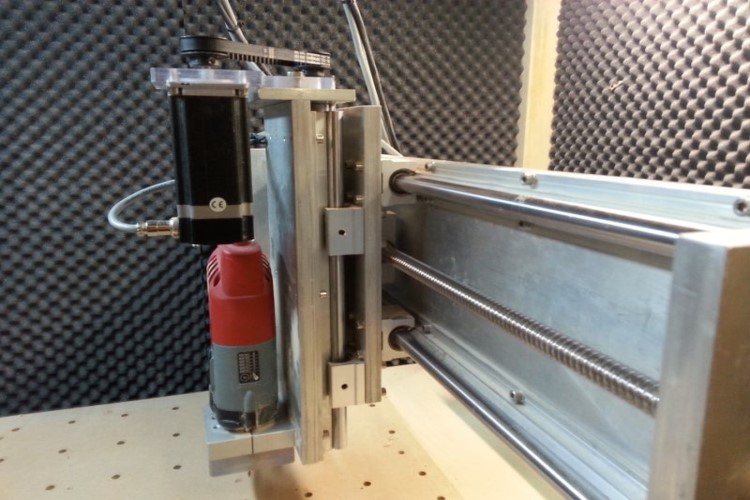
Motor Mounting and Drive Systems
Mount the stepper motors to the homemade CNC parts including the frame, gantry, or carriage, depending on your machine’s design. Connect the motors to the drive system, which can be ball screws, lead screws, or timing belts and pulleys. Ensure the motors are securely mounted and the drive system is properly tensioned to prevent slippage.
Installing the Electronics
Install the electronics components, including the motor drivers, power supply, and control board. Check the wiring diagram and connect the components according to that. To minimize electrical noise, make sure your machine is properly shielded. Test the electronics to ensure all components are functioning correctly.
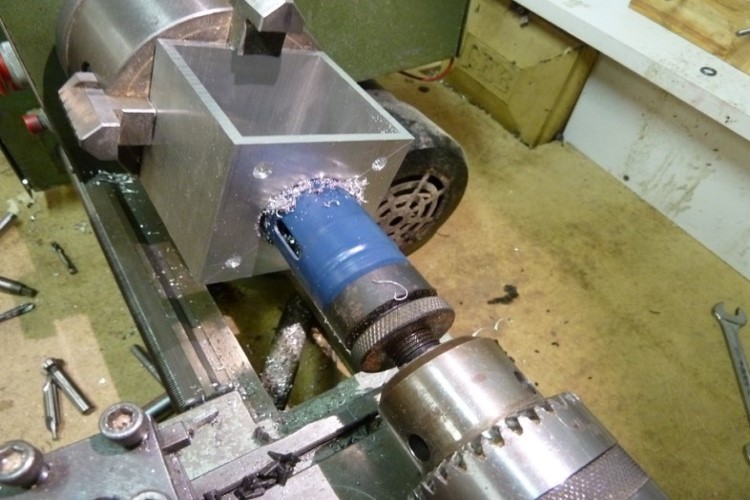
Constructing the Cutting Bed
The cutting bed homemade CNC part is where the workpiece is placed during the cutting process. It can be a simple flat surface or a more complex system with features like vacuum hold-down or T-slots. Construct the cutting bed according to your machine’s design and the types of materials you plan to cut.
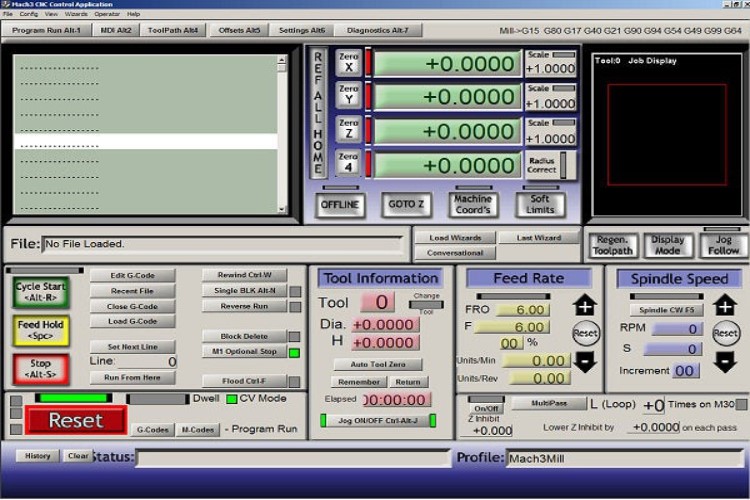
Software and Control Setup
Install the necessary software, including CAD/CAM software for designing and generating toolpaths, and CNC control software to control the machine’s movements. Configure the software to match your machine’s specifications and test the machine’s movements using basic G-code commands.
Testing and Calibration
Thoroughly test the machine’s performance by cutting simple test pieces. Calibrate the machine to ensure accuracy and adjust any necessary parameters. Once you are satisfied with the machine’s performance, you can begin using it for more complex projects.
Conclusion
Building a CNC machine is a challenging but rewarding project. Purchase homemade CNC parts individually or as a kit from Maple CNC, follow the experts’ steps, pay attention to detail, and then you can create a powerful and versatile tool for your workshop or maker space.