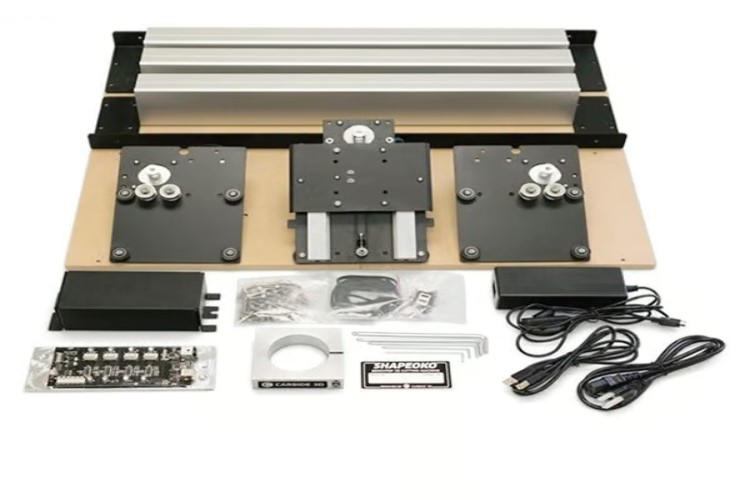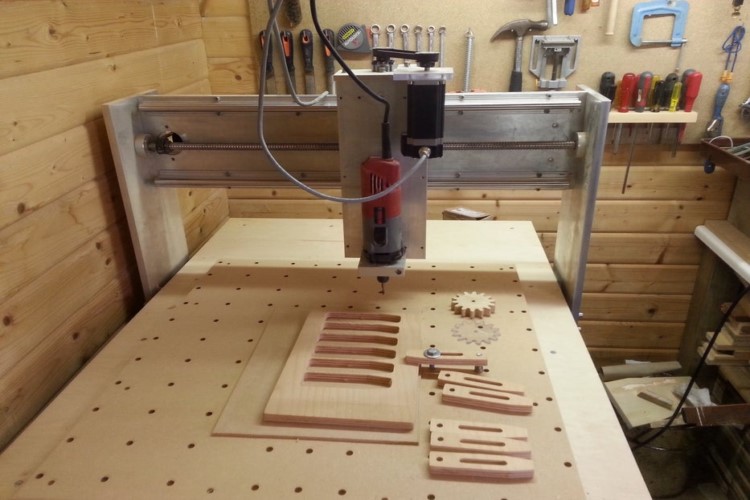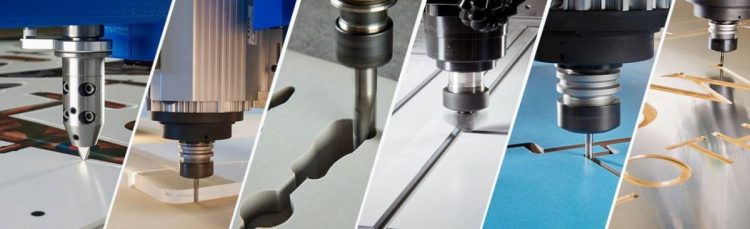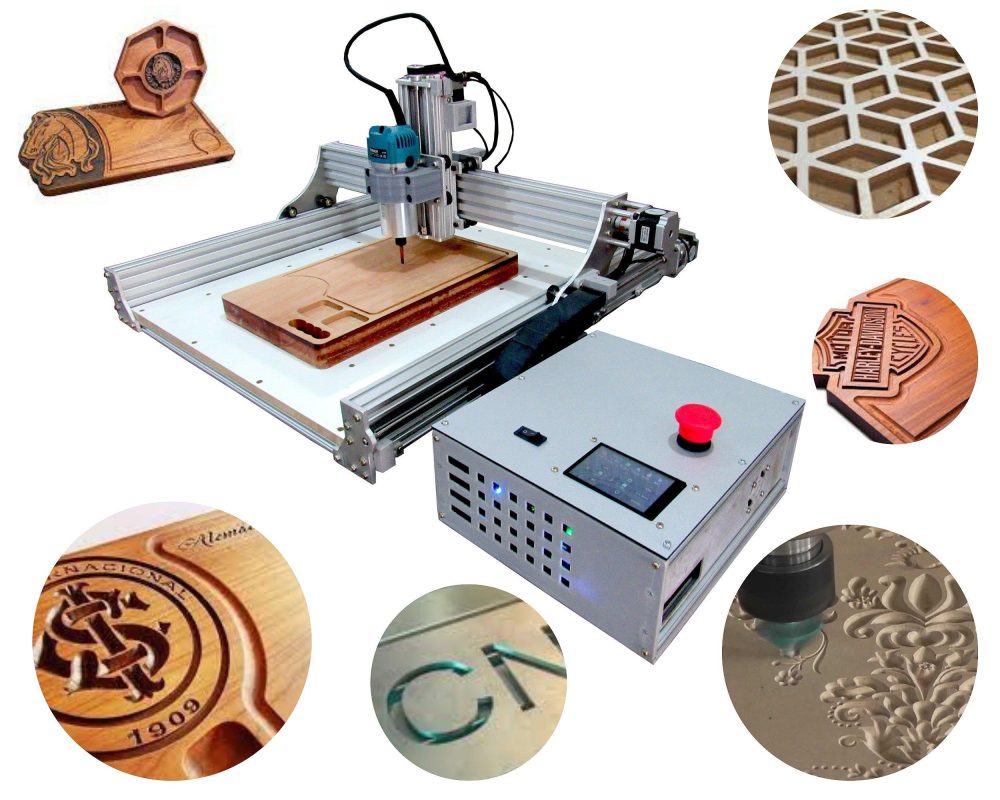
Maslow CNC is one of the innovative open-source and large-format CNC machines specifically engineered for cutting a variety of materials such as wood, plastic, and soft metals. This machine is very easy to use and can be utilized by makers, small businesses, and even hobbyists. Maslow CNC kit contains all the pieces such as motors, frames, control panel, routers, and more.
Putting together the kit involves five steps, with detailed directions available in the following article.
Step 1: Assembling the Electronics
Maslow CNC electronic setup is very straightforward. Below is a step-by-step guide to help you identify the essential machine parts of the Maslow electronics system.
Identifying Components
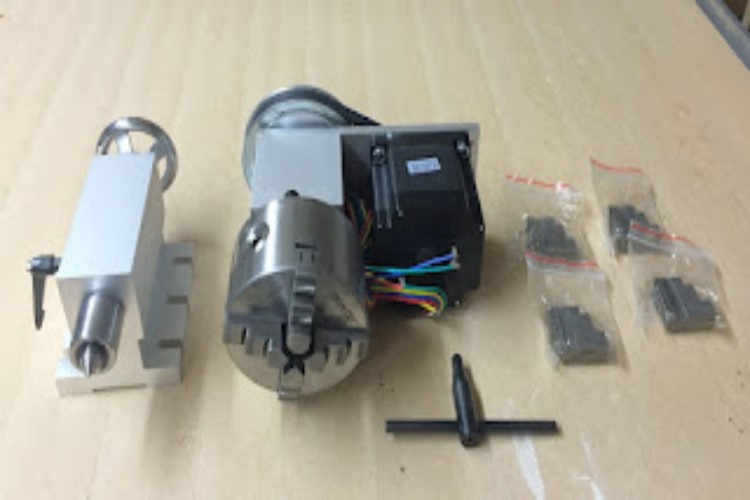
The Maslow electronics system consists of five key components:
Motor/Encoder/Gearbox units that are responsible for the movement of the CNC machine. Motor wires, Maslow CNC Motor Controller Shield, Keyestudio Mega 2560 Microcontroller, and a 12V DC 5A / 110-250V AC power supply that provides the necessary energy to operate the entire system in Maslow CNC kit.
Go for Attaching Heatsinks
Begin by attaching the sticky-backed heatsinks from your hardware bag to the motor controller shield. Ensure they are firmly pressed down for optimal thermal conductivity.
Now Connect the Arduino Shield
Carefully align the Arduino shield with the Keyestudio Mega 2560 microcontroller. Make sure that all pins are straight and properly aligned before gently pressing the motor controller shield into place.
Time for Connecting the Motors
Connect the motors to the motor controller shield, ensuring you use ports 1 and 3 instead of ports 1 and 2. This configuration helps distribute the power draw more evenly across both motor driver chips. Port 3 is designated for the left motor, while Port 1 is for the right motor.
Pay attention to the orientation of the cables: when plugging them into the Arduino shield, the yellow wire should be positioned at the bottom in both ports. Connect the optional Z-axis motor to the second port.
Connect the Power Supply
Plug the 12V power supply from the Maslow CNC kit into the motor controller shield, not the microcontroller. While connecting the power supply to the Arduino will not cause any damage, it will not power the motors.
The USB Cable Should be Connected
plug one end of the USB cable into the Arduino board and the other end into your computer. You should see the “USB” light illuminate, indicating that the board is successfully connected and receiving power from your computer.

Step 2: Firmware Setup for Maslow
Now it’s time to install a firmware on your CNC machine to get the most out of your Maslow CNC kit. To do so you need to connect your Arduino to the computer, then go download the Arduino IDE.
Then the latest Maslow firmware must be downloaded as well. Now, open the firmware and select the board type and the serial portal. Upload the firmware, and then you’re good to go for the next step.
Step 3: Install Ground Control or Web Control
GroundControl was the pioneering control software created by @BarbourSmith for the Maslow CNC. However, with the advent of WebControl, it has become the preferred option among users.
GroundControl is a desktop application designed to operate your CNC machine effectively. It offers essential controls for machine movement, provides a digital position readout, and allows you to open and execute G-code files seamlessly after successfully assembling a Maslow CNC kit.
This software is free to use and receives bi-weekly updates, introducing new features and improvements to enhance user experience. GroundControl is compatible with Windows, Mac, and Linux operating systems.
Upon your first launch of GroundControl, you will need to connect to your machine. To do this, click on “Actions”, select the appropriate port from the “Ports” dropdown menu, and then click “Connect.” Your selection will be saved for future use, eliminating the need to repeat this step.
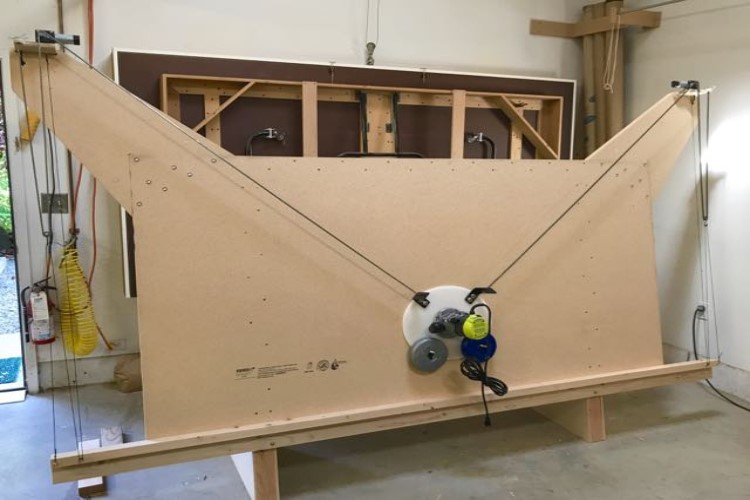
Step 4: Building and Assembling the Frame
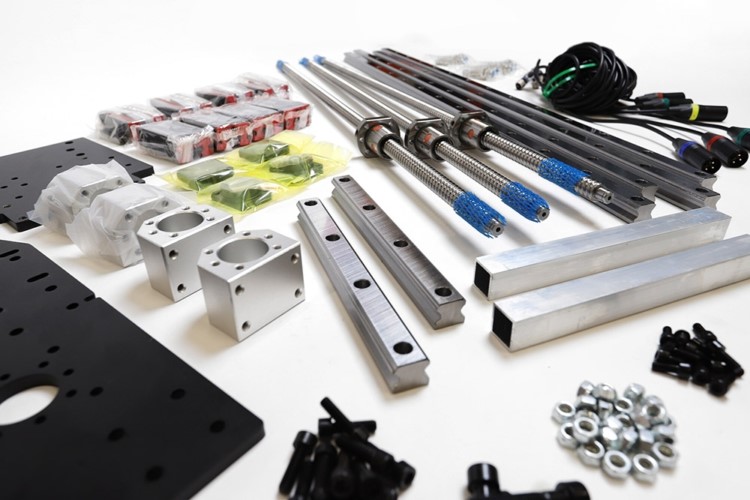
The frame is one of the most important parts in the Maslow CNC kit. Here is how to install it.
- Start by taking apart the temporary frame, ensuring all parts are kept for later use. Organize them to avoid losing any pieces.
- Gather the three lengths of 2×4 and the three angle braces you previously cut. You should have two of each length of 2×4 and four angle brackets.
- Arrange the 2×4 sections in the configuration they will be assembled, referring to the leg diagram for guidance.
- Secure each brace using four short wood screws.
- Turn the leg over and attach the braces to the back side, aiming for both frames to match in angles as closely as possible.
- Fix the two remaining 12.5cm leg segments to the back of the 4×8 plywood sheet, using four wood screws each, positioned 55cm from each edge.
- With the legs upright, lift the frame and place it on top.
- Assemble the arms by screwing the plywood front to the 2×4 back, noting that one arm will be a mirror image of the other.
- Secure the motor mounting plates to the arms by screwing through the plywood into the 2×4, using at least six screws for a strong joint.
Make Sure to Follow These Steps as Well
- Attach the motor mounts to the arms with short wood screws, then fix the motors to the mounts using bolts.
- Install the chain guide with one of the long screws and the nylon guide, ensuring the screw is loose enough for the guide to rotate freely.
- Attach the chains to the motor mounting plates using cotter pins.
- String the chain over the motor sprockets.
- Attach the chain tension bungee system, similar to the temporary frame setup.
- Reconnect the machine’s electronics.
- Round over the edges of the sled using a round over router bit or sandpaper.
- Attach the hardware to the sled using the provided bolts and nuts.
- Perform a recalibration with the new sled.
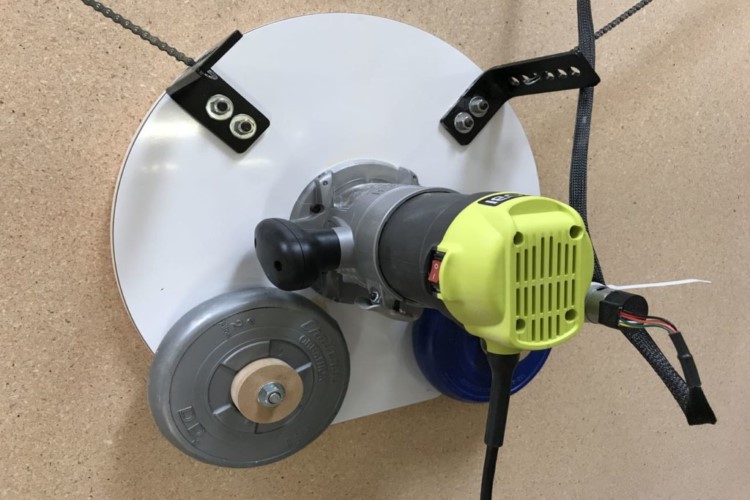
Step 5: Assembling Maslow Ring System Sled
The Maslow CNC kit offers the system sled you need to start your projects. Follow the steps to build your ring system sled.
- Cut the necessary shapes from plywood; exact dimensions are not essential.
- Create a central hole for the router and additional holes for securing bricks.
- Secure the router to the sled, possibly removing handles for a better fit.
- Use bolts to attach bricks and the ring to the sled, making sure the ring is centered around the router.
- Assemble and attach carriages to the ring with shoulder bolts and bearings.
- Hang the sled on the machine by securing chains to the carriages with cotter pins.
- Launch the software and follow the calibration process for precise cutting.
- Create a file for cutting the sled parts, using the provided design files or your preferred software.
- Open the cutting file in the software and begin the cutting process.
- Move hardware from the temporary sled to the final sled, ensuring everything is aligned correctly.
- Round the edges of the sled for smoother movement, then reattach it to the machine for use.
Conclusion
The Maslow CNC machine is one of the most powerful tools utilized across various industries. The Maslow CNC kit offers an affordable and effective entry point either for professionals or hobbyists. By exploring our website, Maple CNC, you can easily discover a range of kits tailored to fit your budget and project requirements. Our team of experts is available to provide guidance and answer any questions you may have to ensure you make the best choice for your needs.